How to Buy a Home Sauna: A Step-by-Step Guide
Twelve steps in the order that saves money and regret, from choosing the kind of heat you want to the day the electrician signs off.
Quick answer
To buy a home sauna, decide on the experience first (traditional or infrared), then budget for the whole project rather than the sauna alone: heater, electrical work, foundation or floor, delivery and installation. Measure your space, confirm your panel can take a dedicated circuit, choose indoor or outdoor, size the heater to the room, and check delivery access and permits before you order.
On this page
- Step 1: Choose the type of sauna experience you want
- Step 2: Budget for the whole project, not just the sauna
- Step 3: Measure your space and size the sauna
- Step 4: Check your electrical supply (240V vs 120V)
- Step 5: Choose indoor or outdoor
- Step 6: Pick the type and format
- Step 7: Size the heater to the room
- Step 8: Choose the wood
- Step 9: Kit, prebuilt or custom?
- Step 10: Plan delivery and access
- Step 11: Check permits and HOA rules
- Step 12: Set a realistic timeline
- Common mistakes to avoid
- Your pre-purchase checklist
- Common questions
Buying a home sauna goes best in a particular order: decide what kind of heat you want, budget for the whole project rather than the box, then check that your space and your electrical panel can support it before you fall for a model. Most expensive surprises (a heater circuit nobody priced, a kit that won’t fit down the basement stairs, a ceiling that’s too tall to heat) come from doing those steps backwards.
This guide walks through all twelve steps, links to our deeper guides at each one, and ends with the most common mistakes and a checklist to run before you pay.
Step 1: Choose the type of sauna experience you want
Everything else follows from this choice.
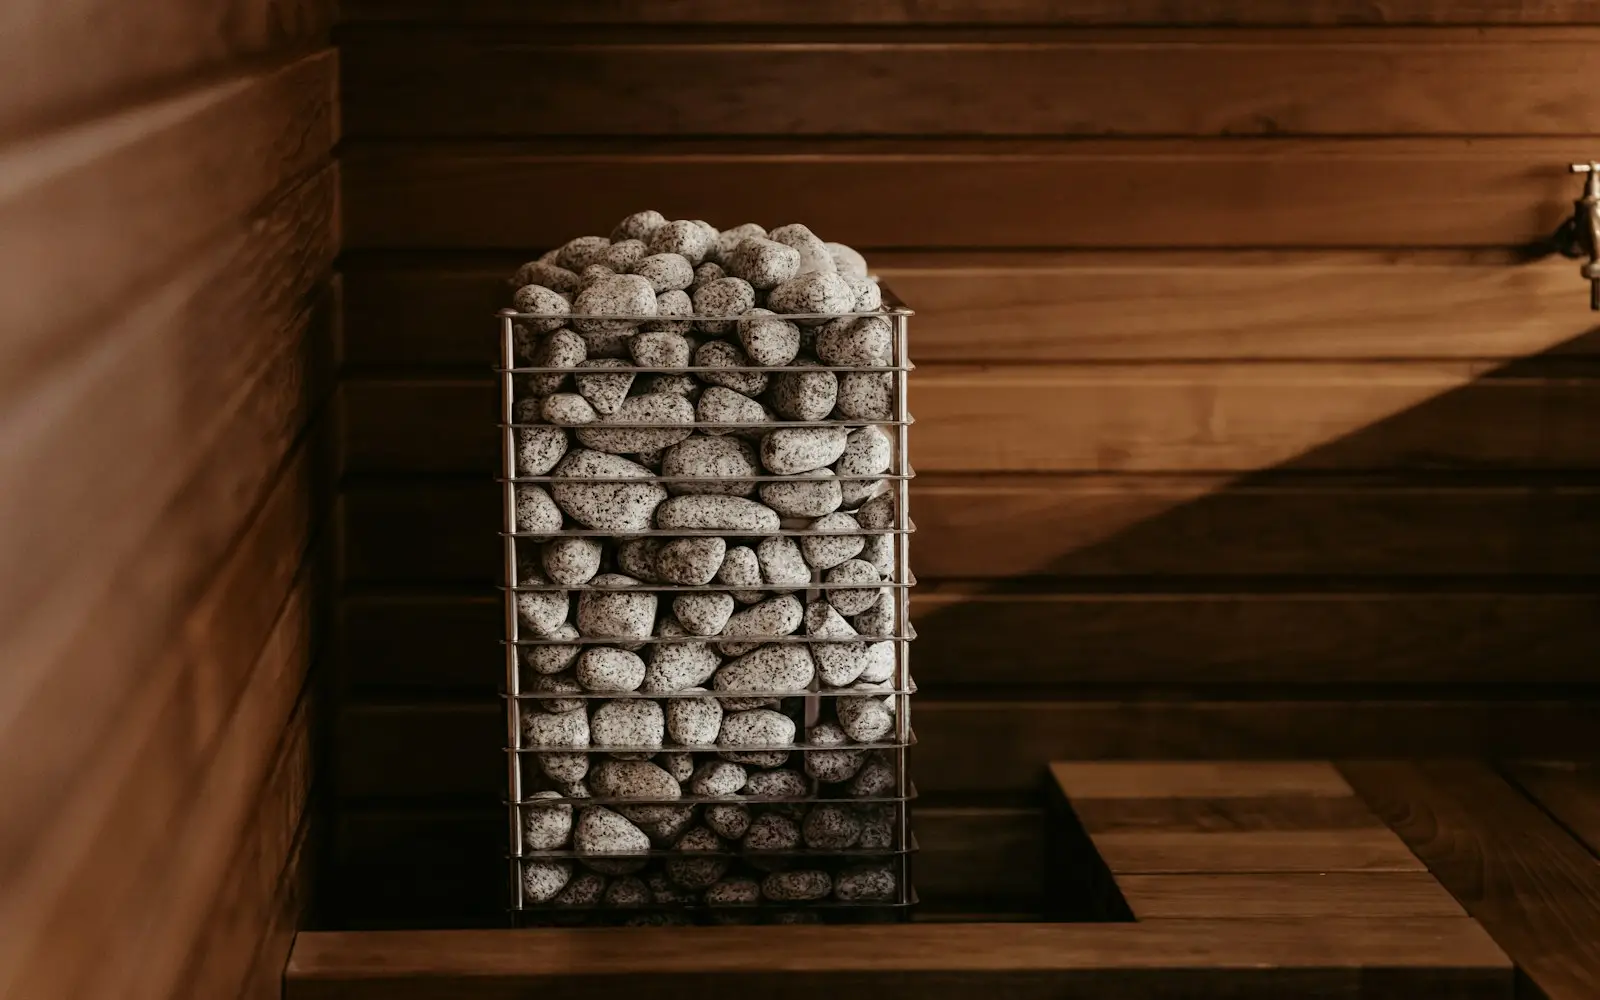
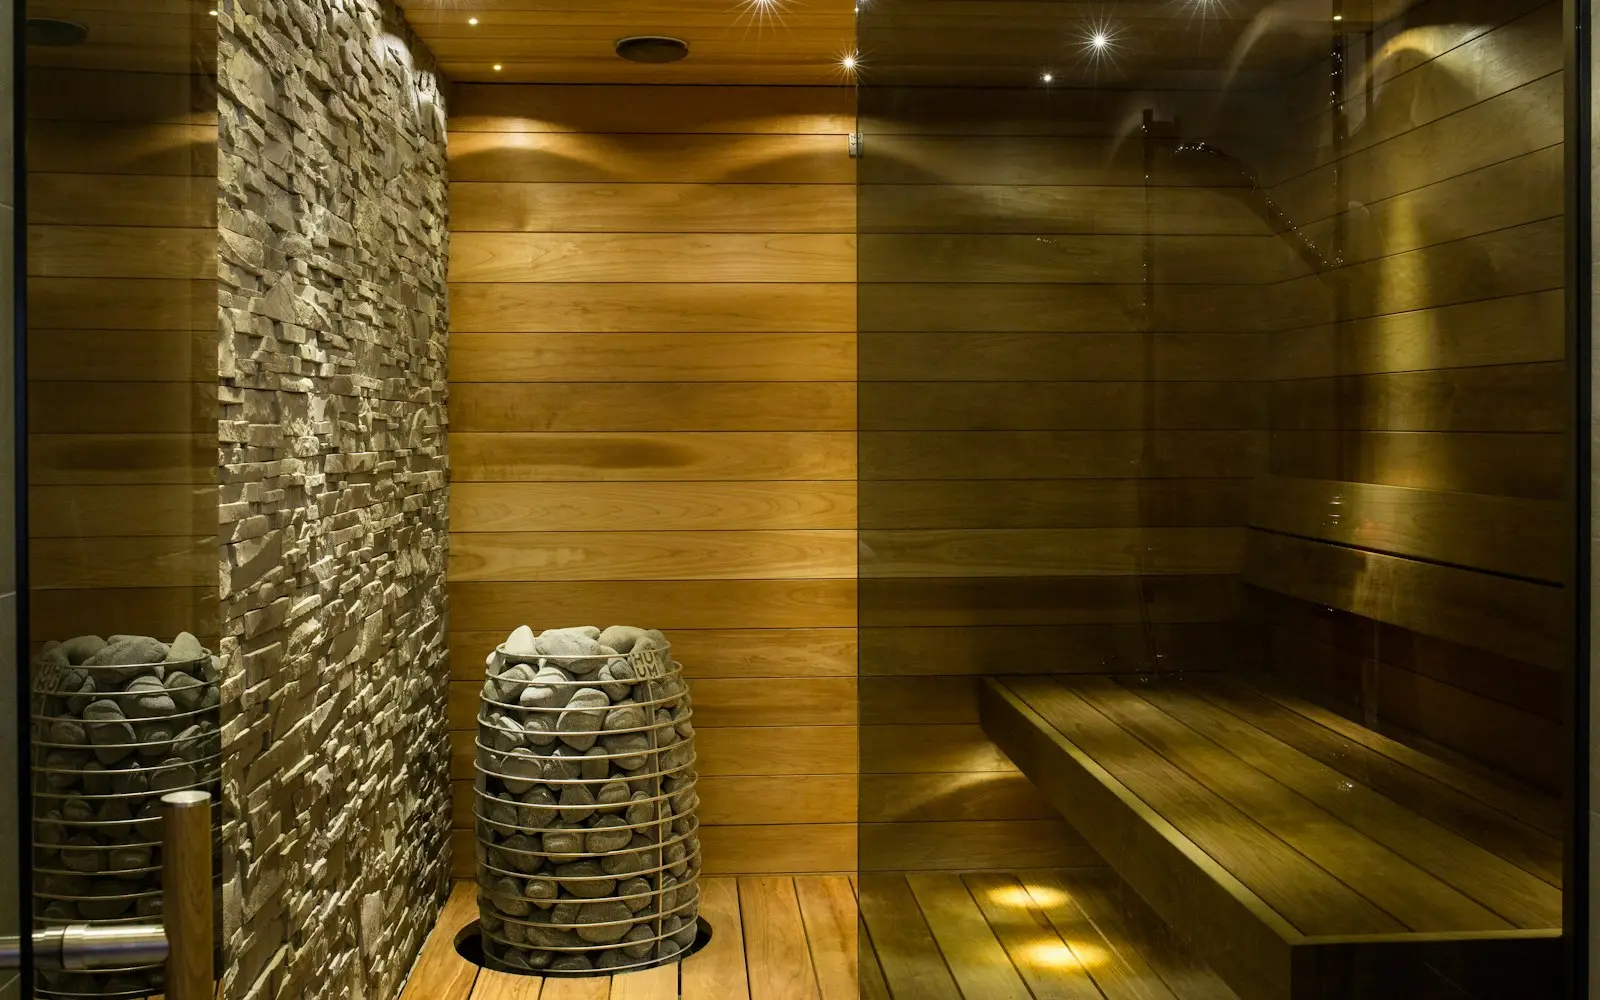
- Traditional sauna. Hot air, usually 160-185°F (70-85°C), from an electric or wood-burning heater full of stones. Ladle water on the stones and you get löyly, the wave of steam that defines the Finnish sauna. Between pours the air is dry, around 10-20% relative humidity.
- Infrared sauna. Panels warm your body directly while the air stays cooler, typically 113-140°F (45-60°C). No stones, no water.
- Steam room. Saturated, wet heat at a lower air temperature, built like a sealed shower.
- Portable. A tent, blanket or dome that plugs into an ordinary outlet and folds away.
If you can, try a traditional sauna and an infrared cabin at a gym or spa before you buy; they feel very different. Our guide to the best type of sauna for your home compares them all in depth, and if you’re leaning infrared, read carbon vs ceramic infrared heaters before you shortlist cabins.
Also decide how many people will use it at once and how often. A sauna used three evenings a week by two people is a different purchase from one that hosts six friends a month.
Step 2: Budget for the whole project, not just the sauna
The price on a sauna listing is rarely the price of a working sauna. Build your budget line by line:
| Cost line | What it covers | What drives the cost |
|---|---|---|
| The sauna | Kit, prebuilt unit, infrared cabin, or interior materials for a room you frame | Size, wood, glass, build quality |
| Heater and controls | Electric heater, stones, control panel, or a wood stove and chimney | Output (kW), control type, wood vs electric |
| Electrical work | A new dedicated circuit, possibly a panel upgrade, trenching for an outdoor run | Distance from your panel, spare panel capacity, local labor |
| Foundation or floor | Outdoors: concrete pad, compacted gravel, pavers or a deck. Indoors: concrete or tile | Site, size, drainage |
| Delivery | Freight to your curb or driveway | Distance, weight, liftgate needs |
| Assembly or installation | Your weekend or a contractor’s days | Kit type, complexity |
| Permits and inspections | Building and electrical permits where required | Your town |
| Accessories | Bucket, ladle, thermometer, lighting, backrests | Taste |
| Running costs | Electricity or firewood | Heater size, insulation, how often you use it |
We don’t print prices because they change quickly, but you can get firm numbers for most of these lines before you buy. Almost Heaven, a US sauna maker, suggests getting quotes from two or three licensed electricians and notes that the distance from the sauna to your panel is a major cost factor. For running costs, a 6 kW heater uses at most 6 kWh for each hour its elements are on; once the room is hot, the thermostat cycles them, so real use is lower. Our guide to sauna accessories covers what’s worth buying and what to skip.
Step 3: Measure your space and size the sauna
Size a sauna by bench, not by floor area. Benches are where you spend the session; the floor is mostly dead air you have to heat.
- Bench length. Thermory’s design guide suggests about 600 mm (24 inches) of bench per seated person and at least 2,000 mm (about 6.5 feet) for a bench you can lie on.
- Bench depth. Upper benches around 20-24 inches deep for sitting and about 28 inches for lying; lower benches around 16 inches. Saunafin’s spec uses a 20-inch top tier, a 16-inch lower tier and 18-inch risers.
- Ceiling height. Aim for about 7 feet. Harvia’s US manual for its KIP heaters shows 7 feet as the normal height, 8 feet as the maximum and 75 inches as the US minimum for those heaters. Saunafin calls 6 feet 11½ inches its standard residential height and says a sauna should never be taller than 8 feet. Thermory puts the top bench about 39-47 inches below the ceiling.
Why so specific about the ceiling? Heat stratifies. In Harvia’s example, when it reads 180°F (82°C) near the ceiling above the heater, the upper bench sits around 140°F (60°C), the lower bench around 120°F (49°C) and the floor around 100°F (38°C). A tall ceiling stores the hottest air above your head, needs a bigger heater to fill, and still leaves your feet cool. Saunafin’s spec makes the same point: its standard height limits the volume and keeps the warmest air close to the bathers. At 7 feet you get a comfortable two-tier bench; a three-tier layout needs closer to 8 feet.
Two more measurements: the heater’s minimum clearance to walls and benches (Harvia’s KIP table lists a minimum of 3-5 inches from adjacent surfaces, depending on heater output), and room for the door to swing outward (Saunafin’s spec has sauna doors opening out).
If you’re shopping for a small room, our guide to choosing a 2-person sauna compares real interior sizes.
Step 4: Check your electrical supply (240V vs 120V)
Do this before you choose a model, because it can rule some out.
Traditional electric heaters are hardwired to a dedicated 240-volt circuit by an electrician. Almost Heaven says its heaters typically need 30-40 amp service. Here’s what Harvia’s US manual lists for its KIP range at 240 volts, single phase:
| Heater output | Current at 240V | Wire size in the manual | Room volume range |
|---|---|---|---|
| 3.0 kW | 12.5 A | #12/2 | 84-130 cu ft |
| 4.5 kW | 18.8 A | #10/2 | 100-210 cu ft |
| 6.0 kW | 25.0 A | #10/2 | 170-300 cu ft |
| 8.0 kW | 33.3 A | #8/2 | 250-425 cu ft |
The same manual calls for copper wire rated 194°F (90°C) inside the sauna walls, says outlets are not allowed inside the sauna room, and specifies a standard 2-pole breaker rather than a GFCI breaker for that heater. Your electrician squares the manual with your local code; your job is to make sure the conversation happens before the sauna arrives.
Infrared cabins often run on 120 volts, but not on just any outlet. Sunlighten’s 2-person Signature II needs a dedicated 120-volt, 20-amp circuit; its 4-person Signature IV needs a dedicated 240-volt, 20-amp circuit with a NEMA 6-20 outlet. The company says to plug directly into the wall and that a power strip voids the warranty.
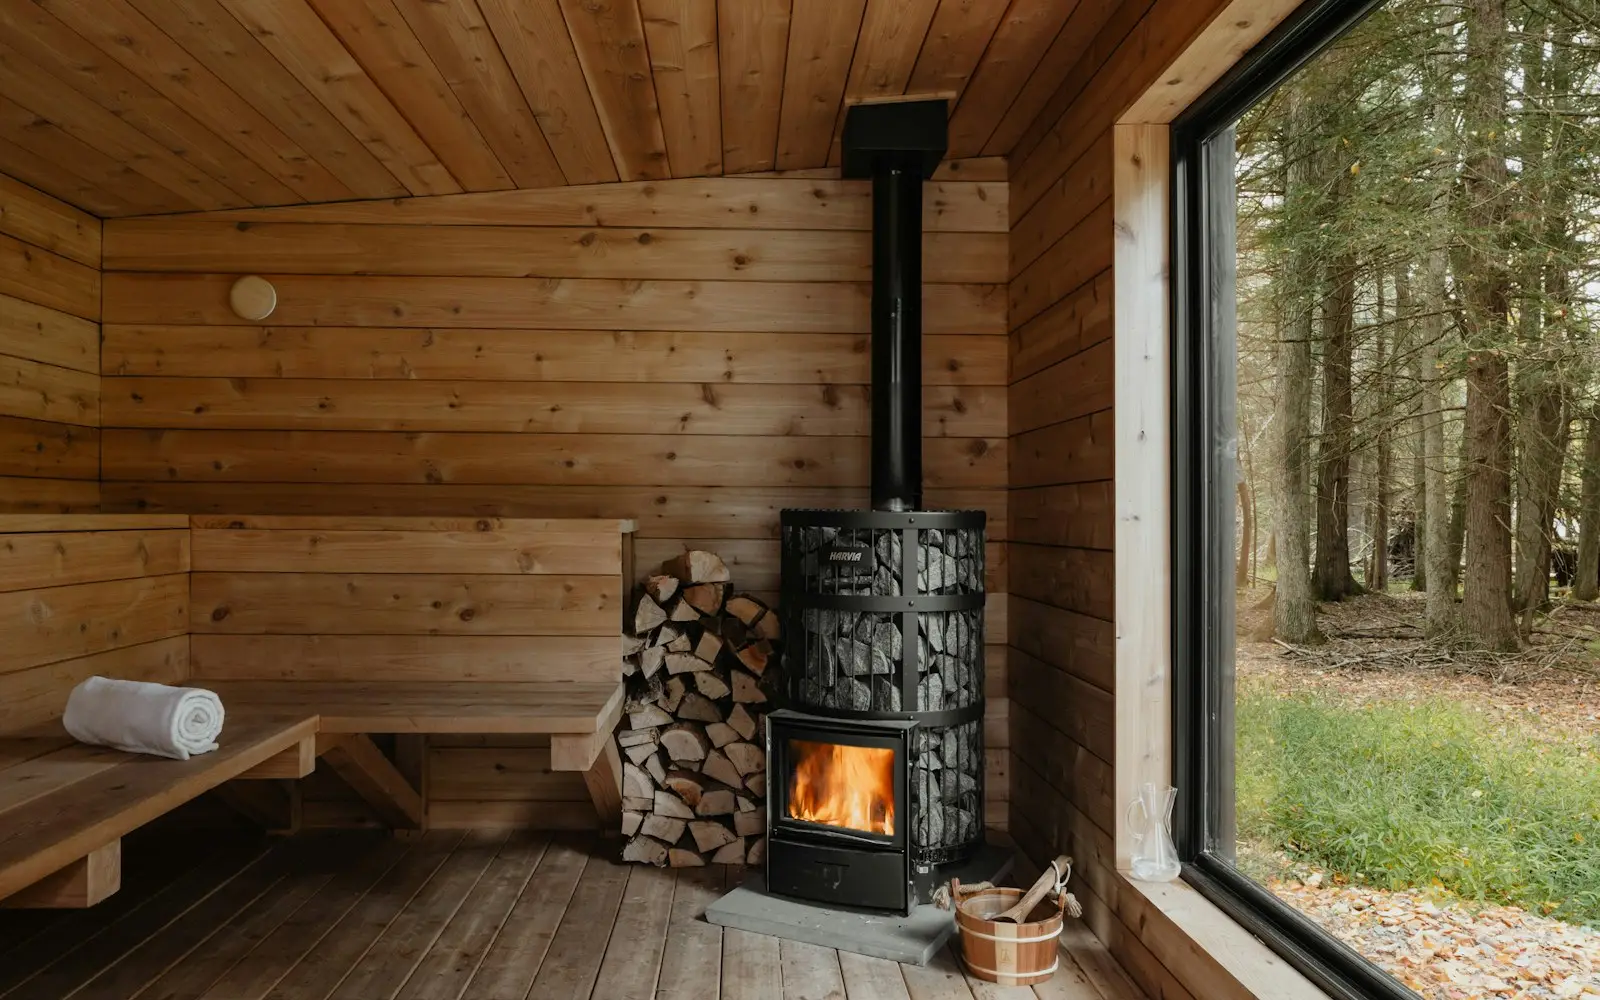
Wood-burning stoves need no electricity for heat, though you’ll still want safe wiring for a light.
Step 5: Choose indoor or outdoor
Indoors, a sauna sits close to a shower and your electrical panel, and you can use it in slippers in January. It needs framing, about 3½ inches of fiberglass insulation (Saunafin’s spec warns that Styrofoam can’t withstand sauna temperatures), a foil vapor barrier on the warm side, and a floor that can take water. Almost Heaven warns against putting a sauna on carpet or hardwood.
Outdoors, you get space, views and room for a wood stove, but you’re building a small structure: a level foundation with good drainage, a longer power run and a finish that faces the weather. Almost Heaven lists a 3-4 inch concrete pad, 4-6 inches of compacted gravel, a sturdy ventilated deck, or level pavers as base options.
Our indoor vs outdoor sauna guide works through the decision in detail.
Step 6: Pick the type and format
With the experience, space, power and location settled, the shortlist gets short:
- Indoor traditional: a pre-built cabin or a kit of lining, benches, heater and door for a room you frame.
- Outdoor traditional: barrel, cabin or cube-style saunas. Barrels assemble quickly, though Almost Heaven notes their bands may need tightening in the first few months. Our guide to outdoor saunas compares the shapes.
- Infrared: a cabin sized to your space and circuit.
- Portable: a portable steam sauna or a portable infrared sauna if you’re renting or want to test the habit first.
Step 7: Size the heater to the room
Heaters are rated for a range of room volumes. Work out yours (length × width × height in feet gives cubic feet), then add for anything that soaks up heat. Thermory’s rule of thumb is about 1 kW per cubic meter (roughly 35 cubic feet) plus another 0.5 kW for each square meter (about 11 square feet) of glass.
A worked example: a 5 × 6 foot room with a 7-foot ceiling is 210 cubic feet. That’s the very top of the 4.5 kW range in the table above and comfortably inside the 6 kW range, so a glass door or window tips it to 6 kW. Check the heater’s minimum room height too.
Then choose controls (built-in knobs, a wall panel, timers, remote start) and, for wood stoves, check the chimney and safety distances in the manual for that exact model. Our sauna heater guide covers electric, wood and infrared options in depth. For infrared, the equivalent question is how many emitters there are and where they sit relative to your body.
Step 8: Choose the wood
Inside the hot room, wood should be left bare. Almost Heaven says the interior should never be treated. Almost Heaven’s kits, for example, come in hem-fir, western red cedar or thermally modified hemlock. Look for clear, knot-free boards on the benches, since that’s where skin meets wood. Saunafin specifies 1×4 tongue-and-groove lining because wider 1×6 boards are more likely to shrink and cup. The outside of an outdoor sauna is a separate question; Almost Heaven, for example, calls exterior staining optional on its saunas. Our sauna wood guide compares species for walls, benches and exteriors.
Step 9: Kit, prebuilt or custom?
| Option | What you get | Who does the work | Watch for |
|---|---|---|---|
| Panel kit (barrel or cabin) | Pre-assembled, pre-drilled panels, usually with a heater | You and a friend or two; Almost Heaven says barrels take a few hours and cabins 2-3 days, often contracted out | Foundation and wiring are still on you |
| Interior material kit | The parts that go inside a room you build: lining boards, benches, heater, door | You or a carpenter frames and insulates the room first | Framing to the right height and blocking for benches and heater |
| Prebuilt | A finished sauna delivered whole | The seller and a delivery crew | Weight, crane or forklift access, a clear path to the site |
| Custom build | Exactly the room you want | A designer or contractor | Every detail (ventilation, heater clearances, bench heights) is yours to get right |
Step 10: Plan delivery and access
Freight often stops at the curb. Almost Heaven says its saunas arrive as flat-pack boxes delivered to the curb or driveway, which you then carry to the site, and recommends at least two people for installation. Before you order, measure every gate, door, stair and tight turn between the truck and the spot. For a prebuilt unit, ask for its weight and dimensions and how it gets placed.
Step 11: Check permits and HOA rules
Rules vary by town, so call your building department and ask:
- Does the sauna or its foundation need a building permit at this size?
- Does the new circuit need an electrical permit and inspection? (For a new 240-volt circuit, expect yes.)
- What are the setbacks from property lines for an outdoor structure?
- For a wood stove: are there chimney requirements or wood-burning restrictions?
If you have a homeowners’ association, get its approval in writing before you order.
Step 12: Set a realistic timeline
A typical sequence runs: decide and get quotes, apply for permits, order, prepare the site (foundation, electrical rough-in), take delivery, assemble, have the heater connected and inspected, then fire it up. Lead times for delivery vary a lot by maker, so ask before you plan around a date. On the first heat, follow the heater manual: Harvia’s says to run a new heater for an hour before use so the protective coating on the elements burns off.
Common mistakes to avoid
- Buying by “person” rating. Check the real bench length: about 24 inches per seated person.
- Too much ceiling. Anything over 8 feet, including a vaulted ceiling, is hard to heat and keeps the best heat above you.
- Forgetting the glass. Glass doors and walls add to the heater size you need.
- Pricing the sauna but not the circuit. Get the electrician’s quote before you order.
- Wiring shortcuts. No outlets inside the sauna room, wire rated for the heat, and the breaker type the manual calls for.
- Treating the interior wood. Leave it bare.
- Styrofoam insulation or no vapor barrier in an indoor room you build yourself.
- Carpet or hardwood underneath. Use concrete or tile indoors and a proper level base outdoors.
- An indoor infrared cabin placed outside. Check that a cabin is rated for outdoor use; Sunlighten, for one, says its saunas aren’t designed to be placed outdoors.
- Not measuring the delivery path. Boxes that can’t reach the site are your problem, not the freight company’s.
Your pre-purchase checklist
- Tried both traditional and infrared, or know which you want
- Written quotes for the sauna, electrical, foundation or floor, delivery and assembly
- Interior bench length of at least 24 inches per person (about 6.5 feet if you want to lie down)
- Ceiling height close to 7 feet and no more than 8
- Heater rated for your room volume, with glass accounted for
- Electrician has confirmed panel capacity, circuit, wire size and breaker type
- Location chosen, with a level, well-drained base (outdoors) or a concrete or tile floor (indoors)
- Insulation and foil vapor barrier planned for any room you build
- Ventilation laid out as the heater manual shows
- Wood choice confirmed, interior left untreated
- Delivery path measured, and helpers or equipment lined up
- Building, electrical and HOA approvals checked
- Warranty terms read, especially for the heater or infrared emitters
Common questions
How much does a home sauna cost to run?
Work it out from the heater's wattage and your electric rate. A 6 kW heater uses at most 6 kWh for each hour its elements are on, and once the room is hot the thermostat cycles them off and on, so real use is lower. A small infrared cabin rated around 2,000 watts uses at most about 2 kWh per hour. Multiply by your rate per kWh and by your weekly sessions, including warm-up time.
What size sauna do I need for 2 people?
Plan on roughly 24 inches of bench per seated person, so at least 4 feet of bench for two people sitting side by side. If either of you wants to lie down, look for a bench about 6.5 feet long and around 28 inches deep. A ceiling close to 7 feet keeps the heat near your head. Check the real interior bench length rather than trusting a person rating.
Do I need an electrician to install a sauna?
For a traditional electric heater, yes. Heater manuals call for permanent 240-volt wiring by a licensed electrician to local code, with wire sized for the heater's amperage. Plug-in infrared cabins often need a dedicated circuit too; Sunlighten, for one, says to have an electrician install it. A wood-burning stove needs no power for heat, but you will still want safe wiring for a light, and the stove and chimney have their own installation rules.
Can I put a sauna in my basement?
Often, yes. A concrete basement floor is an acceptable sauna floor, and a basement is often close to the electrical panel, which keeps the wiring run short. Check three things first: that you can frame an interior ceiling height of about 7 feet, that the room can be insulated with a foil vapor barrier on the warm side, and that the kit or materials fit down your stairs and around the turns.
Sources
- Harvia: KIP sauna heater owner's and installation manual, US edition (2023)
- Saunafin: Commercial and residential sauna specifications
- Thermory: Sauna design, the complete guide (2022)
- Almost Heaven Saunas: Frequently asked questions
- Almost Heaven Saunas: How to prepare your space for an outdoor sauna
- Sunlighten: Guides and spec sheets (infrared cabin electrical requirements)
- Sunlighten: Frequently asked questions
- Hussain & Cohen, Evidence-Based Complementary and Alternative Medicine: Clinical Effects of Regular Dry Sauna Bathing, a Systematic Review (2018)
We update this guide when products, standards or research change. Spot something out of date? Tell us.